
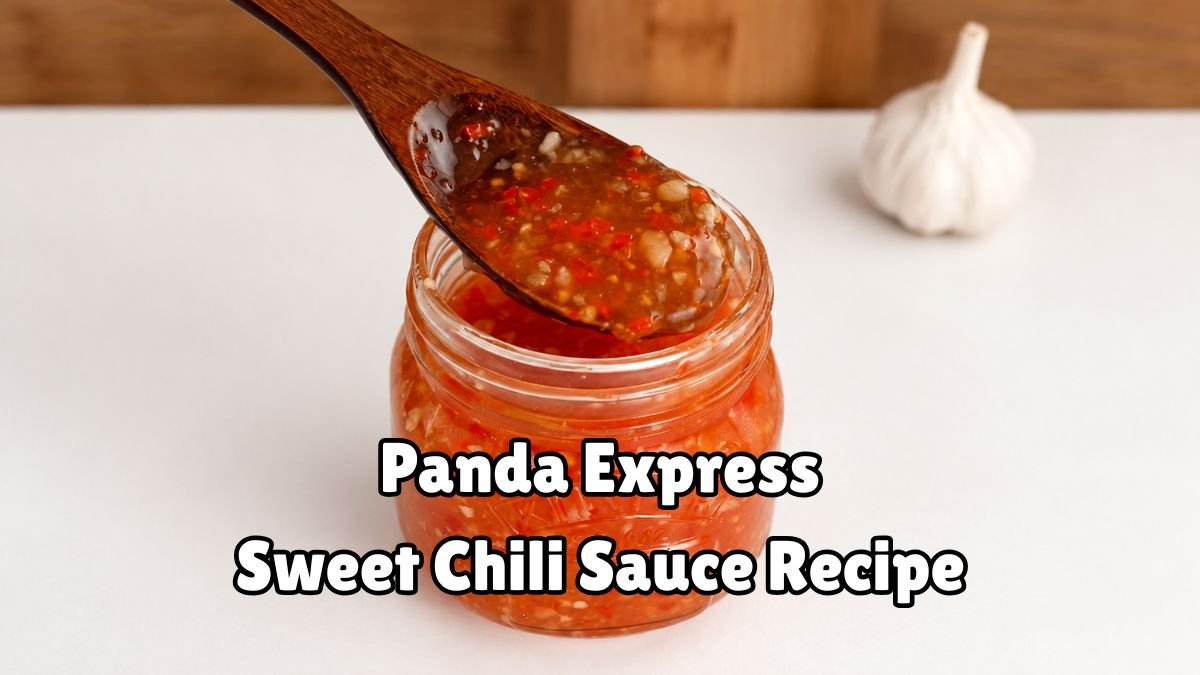
Panda Express Sweet Chili Sauce Recipe
My first time trying Panda Express Sweet Chili Sauce happened almost by accident. I grabbed an extra cup with my order and only meant to use it on egg rolls. Every item on the tray ended up dipped in it, down to the fried rice.
After that, I grabbed extra cups on every visit. Soon the fridge door held cups from four visits. It felt easier to bring home a real jar. A work potluck was coming up, and I needed enough for a whole tray of appetizers.
Making my own version came from wanting one dependable jar instead of many small cups. I learned how much easier it is to keep a batch ready on busy weeknights. My sister-in-law Priya now asks for a jar before every birthday party she hosts.
That steady request is what pushed me to finally write down my Panda Express Sweet Chili Sauce Recipe. I wanted to stop guessing at proportions every time.
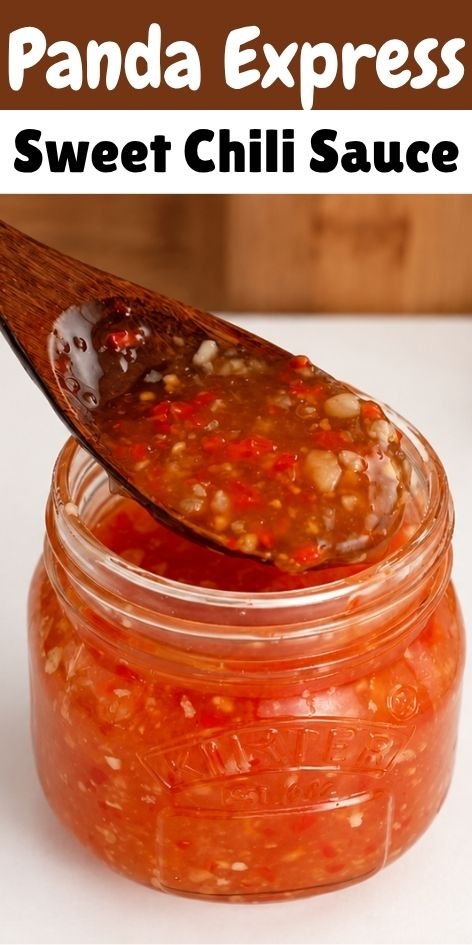
Fresh Chilies vs. Jarred Chili Sauce: Which Wins
Copycat cooks argue about this one. One camp says the bottle tastes like jarred chili garlic sauce alone. The other camp says fresh chilies do the heavy lifting. The label lists both.
I tried both in the same small pot on a rainy October afternoon. Fresh chilies won for the base. A quick blend leaves red flecks that match the bottle. Jarred sauce alone turned the batch a duller brick red.
Sugar starts the second fight. Cutting it in half sounds smart, but the sauce turns thin and harsh. Sugar builds the body as it reduces. I use ½ cup plus 1 tablespoon.
That lands near 9 grams of sugar per serving, against 20 on the bottle. My sauce reads brighter, since vinegar and sugar sit near even by volume. Add 2 tablespoons more sugar for a sweeter match.
Ingredients for Panda Express Sweet Chili Sauce
1. ½ cup chopped red chilies: Chilies bring color and heat, and their skins keep the sauce speckled red. I buy Fresno chilies in the 6-count clamshell from Melissa’s at Kroger. Pick firm, glossy ones with no soft spots.
Red jalapeños work in place of Fresnos with nearly the same heat. Leave the seeds in for medium heat, or scrape them out for a gentler sauce, which keeps it friendlier for kids. Extra chilies keep about 10 days in a paper bag in the crisper.
2. ½ cup water: Water loosens the chilies so the blender can turn them into a rough pulp. It also gives the sauce room to reduce, which builds body during the simmer. I use filtered water from a Brita pitcher.
Use a liquid measuring cup, not a dry one. Dry cups overfill by a few teaspoons, and extra water thins the batch.
3. ½ cup plus 1 tablespoon granulated sugar: Sugar sweetens, but it also thickens the sauce as it dissolves and reduces. It balances the vinegar and gives the finished sauce its glossy sheen. Domino from the pantry bin is my pick.
Honey swaps in for about a third of the sugar. Expect a floral note and a slightly darker color. Crystals on the pot wall can seed grit, so wipe them down with a wet pastry brush.
4. ½ cup distilled white vinegar: Vinegar supplies the tang and helps the sauce keep in the fridge by lowering the pH. Heinz at 5% acidity is what I keep on hand. Skip any bottle labeled for cleaning.
Unseasoned rice vinegar works in place of white and tastes softer and rounder. Avoid the seasoned kind, which already carries sugar and salt. Apple cider vinegar also swaps in, with a fruitier edge and a tan tint.
5. 2 tablespoons minced garlic (about 5 medium cloves): Garlic gives the savory backbone that stops the sauce from reading as sweet vinegar water. I mince fresh cloves, since jarred garlic often carries a sour edge from its packing acid.
Smash each clove flat with a knife and the skin slips right off. Garlic powder works in a pinch at ¾ teaspoon, though the sauce loses its fresh bite. Keep whole heads in a cool, dry spot.
6. A scant 1 teaspoon kosher salt: Salt sharpens the chili flavor and tames the sugar. I measure Diamond Crystal, which is lighter than Morton. A kitchen scale helps here, and 2.5 grams is my target.
Table salt or fine sea salt takes half the volume, so use a scant ½ teaspoon. Skip the salt entirely and the sweetness reads flat.
7. 1 tablespoon cornstarch: Cornstarch thickens the sauce and gives it the clingy body of the bottle. Argo in the yellow container is my go-to. Replace old boxes, since aged starch thickens less.
Arrowroot works in equal amounts and gives a glossier, clearer sauce. It turns slimy with long reheating, so serve it soon.
8. 2 tablespoons cold water (for the slurry): Cold water lets the starch dissolve without lumps. Warm water starts gelling it before it reaches the pot.
Chill the water in the fridge for 10 minutes on hot days. My kitchen hit 85°F last August, and warm tap water clumped one slurry.
Kitchen Equipment Checklist
- Blender: Small cup works best.
- Small saucepan: Two-quart, heavy bottom.
- Silicone spatula: Scrapes the pot edges.
- Measuring cups and spoons: Level measurements matter.
- Small bowl: Hold the slurry.
- Glass jar: 12-ounce, tight lid.
How to Make Panda Express Sweet Chili Sauce
1. Prep the Chilies and Garlic: Stem 4 or 5 red chilies and chop them roughly until you have ½ cup, seeds included. Mince about 5 garlic cloves to reach 2 tablespoons. Use a board that can handle red stains.
Wear a glove. My knuckles tingled for an hour after the first batch, and I rubbed one eye before I noticed. Chilies vary in size, so aim for about 50 grams.

2. Blend Until Rough: Add the chilies, garlic, and ½ cup water to the blender. Pulse 6 to 8 times, about 10 seconds total. Scrape the jar sides once after the third pulse.
The mix should look like wet confetti, with clear red flecks. Blend longer and the mix turns pale pink from trapped air. Skim any foam off with a spoon once it simmers.
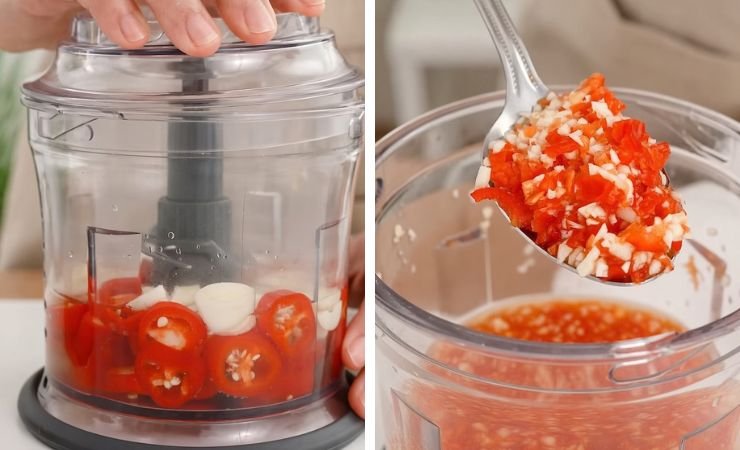
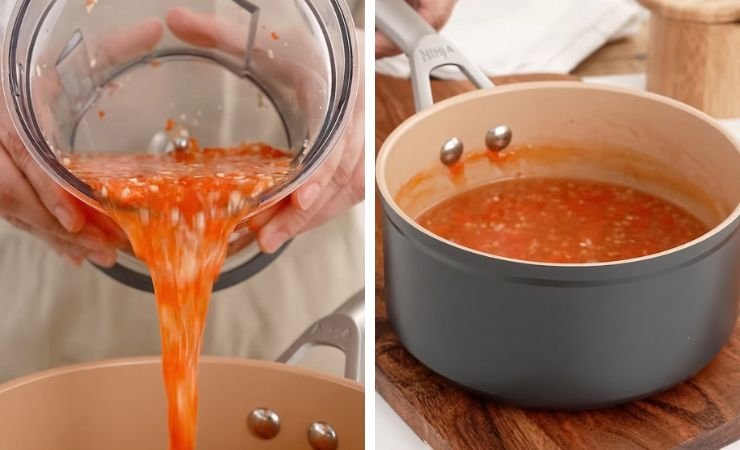
3. Simmer the Base: Pour the blend into a small saucepan. Add ½ cup plus 1 tablespoon sugar, ½ cup vinegar, and a scant 1 teaspoon salt.
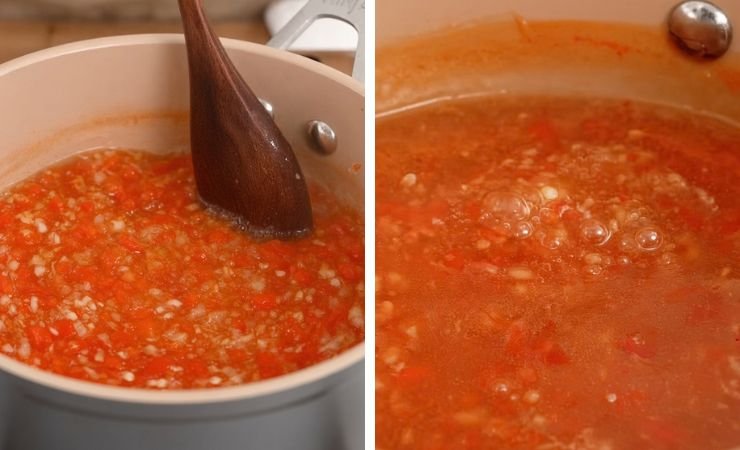
Simmer over medium heat for 5 minutes, stirring often. Cool a drop on a spoon, then rub it between two fingers. Any grit means the sugar needs another minute.
Expect spatters. Mine left a pink shadow on the white tile that took a day to fade.
4. Mix the Slurry: Stir 1 tablespoon cornstarch into 2 tablespoons cold water with a fork. No white streaks should remain. Mix it right before you need it, since starch settles within a minute. Use a small bowl so the fork reaches every corner, where dry starch hides.
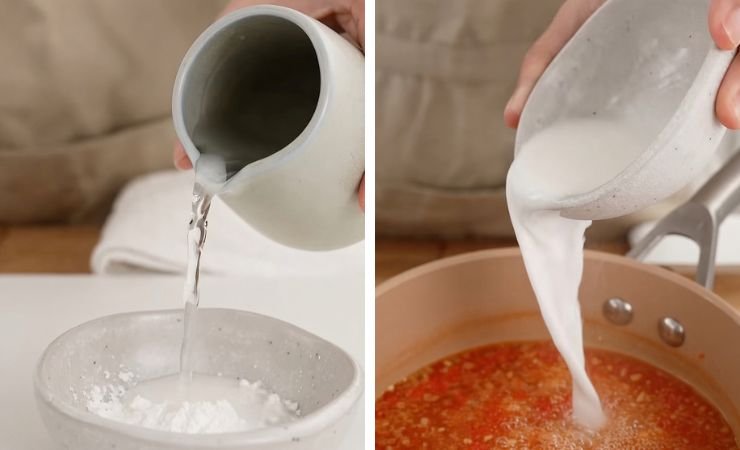
5. Thicken the Sauce: Lower the heat a notch. Stir the slurry once more, then pour it in while stirring. Simmer for 2 minutes until the sauce coats the back of a spoon.
Drag a finger through the coating and the line should hold. The sauce turns from cloudy to glossy in about 30 seconds. Lumps mean the slurry sat too long, so press the sauce through a fine sieve. A sauce that still runs needs another minute.
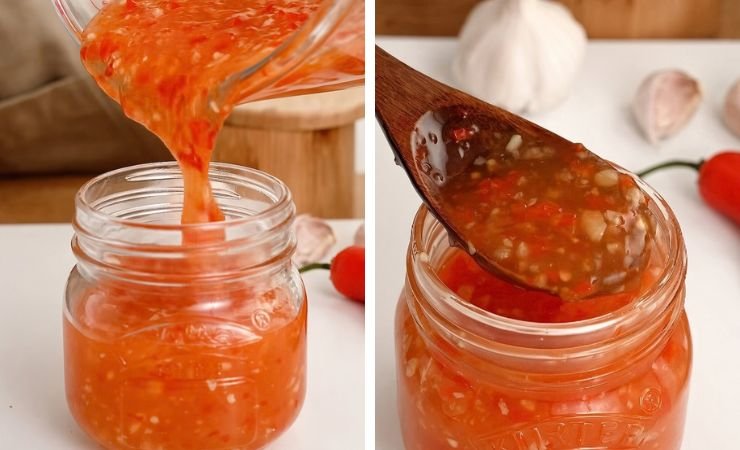
6. Cool and Jar It: Take the pot off the heat. Let the sauce cool for 20 minutes, then pour it into a clean 12-ounce jar. A wide-mouth funnel keeps dripping off the rim. It thickens and turns glossy as it cools.
A cloudy film on top after cooling is just starch, and a stir clears it. Chill the jar at least 1 hour before serving, so the sauce sets to a dippable thickness.
Troubleshooting Tips for a Perfect Batch
1. Bite Feels Too Sharp: Stir in 1 teaspoon sugar while the sauce is warm. Then rest the jar overnight, when the vinegar edge softens.
2. Heat Feels Too Strong: Whisk in 1 tablespoon water and 1 teaspoon sugar, then simmer for 1 more minute. Next batch, scrape out the seeds and white ribs.
3. Color Turns Dull Brown: Aluminum pots react with vinegar and dull the red. Cook in stainless steel or enameled cast iron instead.
4. Garlic Shows a Blue-Green Tint: Garlic can turn blue-green in acid. It is harmless, and fully cured heads with dry skins show it less.
5. Brown Specks Stick to the Pot: Scorched sugar tastes bitter. Pour the sauce into a clean pan without scraping, then finish the simmer there.
Easy Flavor Variations to Try
Mild and Kid-Friendly: Seed the chilies fully and cut the batch to 3 chilies instead of 5. The color still comes through, and the heat drops to almost nothing. This is the version I made for Priya’s son.
Ginger Lime: Stir in 1 teaspoon grated ginger and 2 teaspoons lime juice after cooking. The lime adds a clean tartness that suits grilled shrimp.
Bottle-Style Sweet: Add 2 tablespoons more sugar for a glossier, sweeter sauce. Kids dunk chicken nuggets in this one without complaint.
Smoky Paprika: Whisk in ¼ teaspoon smoked paprika with the sugar. It adds a campfire note and a deeper red. I spoon it over baked salmon.
Sesame Finish: Stir in ½ teaspoon toasted sesame oil off the heat. The oil adds a nutty aroma that pairs with pan-fried dumplings.
Pineapple Twist: Swap 2 tablespoons of the water for pineapple juice. The fruit acid gives a tropical edge, and I serve it with grilled beef skewers.
Best Dishes to Serve With This Sauce
Frozen egg rolls are the easiest match. I bake them at 400°F for 14 minutes, then dunk them straight into a small bowl of sauce. Cream cheese rangoon and fried shrimp work the same way.
The sauce also works as a glaze. Brush it on chicken thighs during the last 5 minutes of roasting. Sugar burns fast, so keep the oven at 425°F or lower. Tossing 1 pound of cooked shrimp with 3 tablespoons of warm sauce takes 2 minutes.
Plain jasmine rice soaks up the extra. Cold rice noodles with cucumber and shredded carrot get a spoonful stirred in as a dressing. Spoon a little over a fried egg on rice for breakfast.
My usual Friday plate has glazed chicken thighs and jasmine rice. A cucumber salad dressed with rice vinegar cuts the sugar. Two rangoons sit on the side, with a small cup of sauce.
How to Store It and Keep It Fresh
I keep the sauce in a lidded glass jar in the fridge for up to 3 weeks. Glass does not hold onto the garlic smell the way plastic does. A 12-ounce jar fits the full batch.
Cold sauce sets firmer, since cornstarch thickens as it chills. Stand the jar in a bowl of hot tap water for 3 minutes, then stir. Or microwave a spoonful in a bowl for 15 seconds.
Keep the jar out of the fridge for no more than 2 hours at a time. Red flecks sink by day three, so shake or stir before each use. Write the date on painter’s tape and stick it on the lid.
Skip the freezer. Cornstarch sauces often turn spongy and weep water after thawing. Use a clean spoon each time, and toss the sauce at the first sign of mold or an off smell.
Frequently Asked Questions Panda Express Sweet Chili Sauce
1. Is this sauce gluten free?
Every ingredient here is naturally gluten free, including distilled white vinegar. Check the cornstarch box for a gluten-free label, since a few plants also process wheat. Panda’s own bottle lists no wheat ingredients either.
2. Is it vegan?
Yes, with one catch. Some white sugar is filtered through bone char during refining. Look for organic or beet sugar, or a package that says vegan. Everything else in the sauce comes from plants.
3. Can I skip the blender?
Yes. Mince the chilies and garlic very fine with a sharp knife, which takes about 3 minutes. The sauce will look chunkier, and it needs the same simmer time as the blended version.
4. How hot does it turn out?
With seeds left in, it lands at mild to medium, close to a jalapeño. Fresno chilies range from 2,500 to 10,000 Scoville units. Scraping out the seeds and white ribs lowers the heat noticeably, and works well for kids.
5. Can I use dried red pepper flakes?
Yes. Use 2 teaspoons of crushed flakes plus ¼ teaspoon paprika for color, and simmer 1 minute longer. The heat feels steadier but less fresh, since flakes lack the juicy bite of whole chilies.
6. Can I use green chilies?
Green jalapeños work, but vinegar dulls their color to olive drab within a minute of simmering. Stay with red for the bright look of the bottle. The heat level stays about the same.
7. Can I use it as a marinade?
Yes. Chicken takes 30 minutes to 2 hours. Shrimp needs only 15 minutes, since the vinegar firms its flesh fast. Set some sauce aside before it touches raw meat, and use that for glazing.
8. Should I strain the sauce before jarring?
No. The flecks add the look of the bottle and cost nothing in texture. Strain only when brushing onto delicate food like fish, using a fine sieve and pressing with a spoon.
A small jar of this sauce now sits in my fridge door, right beside the mustard. The red flecks settle by day three, and a quick shake brings them back.
My dad avoids spicy food, yet he finished a whole dip cup of the seeded batch with a frozen egg roll. That told me the heat sits low, with enough sugar to keep it gentle.
Panda Express Sweet Chili Sauce Recipe
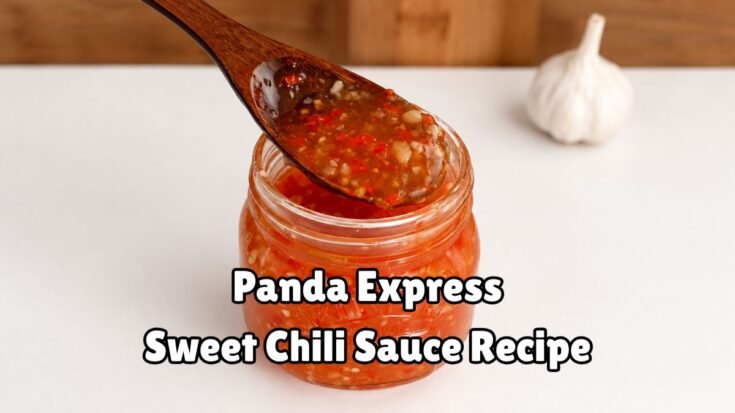
Panda Express Sweet Chili Sauce Recipe with fresh chilies and garlic, thickened with cornstarch for a glossy finish. Ready in under 20 minutes.
Ingredients
- ½ cup chopped red chilies (Fresno or red jalapeño)
- ½ cup water
- ½ cup plus 1 tablespoon granulated sugar
- ½ cup distilled white vinegar
- 2 tablespoons minced garlic (about 5 medium cloves)
- A scant 1 teaspoon kosher salt
- 1 tablespoon cornstarch
- 2 tablespoons cold water (for the slurry)
Instructions
- Prep the Chilies and Garlic - Stem 4–5 red chilies and chop them roughly until you have about ½ cup, seeds included. Mince 5 garlic cloves to make about 2 tablespoons. Wear gloves while handling the chilies, since the oils can irritate your skin and eyes. Aim for roughly 50 grams of chilies.
- Blend Until Rough - Add the chilies, garlic, and ½ cup water to a blender. Pulse 6–8 times, for about 10 seconds total, until the mixture looks like wet confetti with visible red flecks. Avoid blending too long, as the mixture can become pale and foamy.
- Simmer the Base - Pour the chili mixture into a small saucepan. Add ½ cup plus 1 tablespoon sugar, ½ cup vinegar, and a scant 1 teaspoon salt. Simmer over medium heat for about 5 minutes, stirring often. Check that the sugar has fully dissolved before moving on.
- Mix the Slurry - In a small bowl, stir 1 tablespoon cornstarch with 2 tablespoons cold water until smooth and no white streaks remain. Mix it again just before adding, since the cornstarch settles quickly.
- Thicken the Sauce - Lower the heat slightly and stir the slurry once more. Slowly pour it into the saucepan while stirring. Simmer for about 2 minutes, until the sauce becomes glossy and coats the back of a spoon. A finger dragged through the coating should leave a clear line.
- Cool and Jar It - Remove the saucepan from the heat and let the sauce cool for about 20 minutes. Pour it into a clean 12-ounce jar, using a wide-mouth funnel to reduce spills. Refrigerate for at least 1 hour so the sauce can fully thicken into a dippable consistency.
Nutrition Information:
Serving Size:
per 1 tablespoon (about 15 gAmount Per Serving: Calories: 25Sodium: 75mgCarbohydrates: 6gSugar: 5g




One Comment