
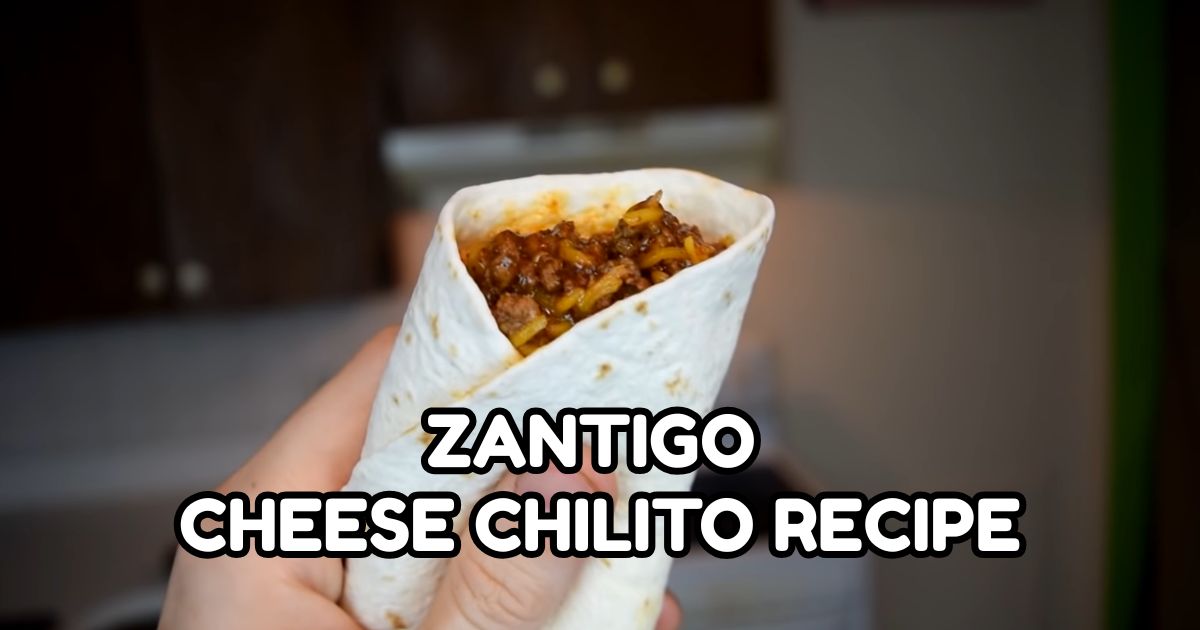
Zantigo Cheese Chilito Recipe
The Zantigo Cheese Chilito Recipe is a delicious dish with tasty ingredients. It includes tender beef, rich cheese, and mild spicy salsa, all wrapped in a soft flour tortilla.
I enjoy making this dish and like to add a pinch of smoky paprika for extra flavor. This meal is great for anyone who wants to spice up their cooking or impress friends with an easy, tasty option.
Whether you love spicy food or want to try something different, the Zantigo Cheese Chilito will satisfy your cravings. With its cheesy sauce and tender beef, it can easily become a favorite in your kitchen. It’s a must-try for fans of Mexican-inspired food. The quality of the ingredients is very important.
Using fresh, high-quality products is key to the best flavors. From lean ground beef to mild red salsa, each ingredient contributes to making a great meal. As you prepare this dish, you’ll see how each step enhances the flavors, from browning the beef to simmering the salsa.
Why This Copycat Chilito Is Worth Making at Home
The Zantigo Cheese Chilito is a dish I enjoy making because it tastes great and is fun to cook. Frying the beef and melting the cheese in the tortillas is a pleasant experience. The mix of textures and flavors makes this dish appealing, and you’ll want to make it often.
What I like most is how easy it is to prepare. You don’t need to be a skilled cook, and you can find the ingredients at most supermarkets. You can have it ready in less than an hour, making it perfect for a quick weeknight dinner or a weekend lunch. Whether you’re cooking for yourself or a group, this dish will be a hit.
I’ve served this dish at birthday parties, holiday dinners, and casual get-togethers, and it is always popular. You can enjoy it as a main dish or a side dish, and it works well for both kids and adults. As you cook it, you’ll create your own memories, making it a meal to cherish.
I’ve made it for my family many times, and it has become a regular meal for us. I return to this dish because of the happy memories it creates. From cooking with friends on a Sunday to serving it on special occasions, this dish has brought me many joyful moments.
What Makes This Zantigo Cheese Chilito Special
The Zantigo Cheese Chilito is better than similar dishes because of its high-quality ingredients and careful cooking. Many other dishes may use cheaper ingredients or skip important cooking steps. This dish is made with the best ingredients and cooked with great attention. The result is a flavorful, rich dish hard to find elsewhere.
Making this dish from scratch allows you to control the quality of the ingredients and the amount of salt and sugar. Store-bought versions often have preservatives and additives that can be unhealthy and may not taste as good as homemade. By making it yourself, you get better flavor and nutrition.
The Maillard reaction is a key part of this dish. It’s the process that browns and caramelizes the beef and cheese, creating a rich flavor. This happens when the amino acids and sugars in the ingredients are heated, forming new flavor compounds. The Maillard reaction is what makes this dish stand out from blander versions.
The cooking steps are carefully ordered to ensure perfect results. Skipping or rushing steps can lead to overcooked or poorly seasoned food. For example, under-browning the beef may affect the flavor. Following the steps carefully is essential for making an exceptional dish.
Ingredients for Zantigo Cheese Chilito
- Lean Ground Beef (1 lb): The main protein for the dish. You can also use ground turkey. Cook it well at the right temperature to stay safe.
- Chili Beans (1 can, 15 oz): These provide fiber and protein. You can swap for black beans or kidney beans. Rinse the beans with water to reduce their sodium content.
- Mild Red Salsa (1 cup): This gives flavor and moisture. Use medium or hot salsa for more heat. Pick a salsa that is low in sugar and made with simple ingredients.
- Shredded Cheddar Cheese (2 cups): This adds creaminess. You can substitute Monterey Jack or Pepper Jack cheese. Grate the cheese yourself to avoid additives in pre-shredded options.
- Soft Flour Tortillas (8): Used to wrap the chilitos. Whole wheat or corn tortillas work too. Choose fresh, flexible tortillas and warm them before wrapping to make it easier.
- Salt (to taste): This enhances flavor. You can use other spices, such as cumin or chili powder, if you prefer. Taste the dish while cooking and adjust the seasoning as needed.
Helpful Kitchen Tools for Best Results
- Large Skillet: Use this for browning the beef.
- Microwave-Safe Plate: For warming tortillas.
- Cheese Grater: Use this to shred the cheese.
- Measuring Cups: Used to measure ingredients.
- Wooden Spoon: Use this for stirring the mixture.
- Cutting Board: This is for chopping the ingredients.
How to Make Zantigo Cheese Chilito
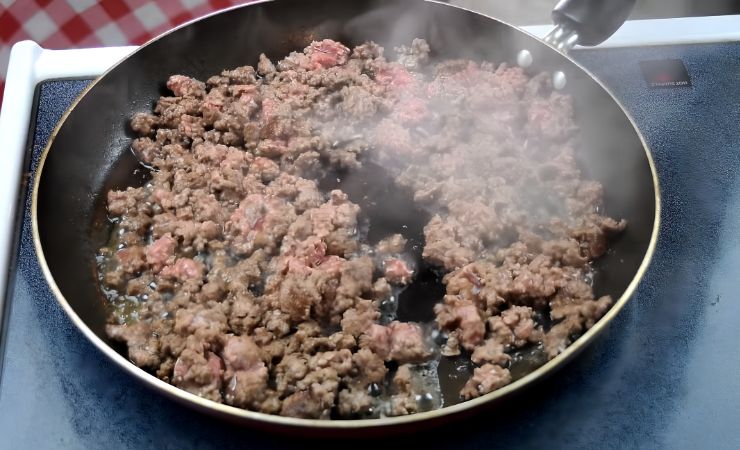
1. Brown the Beef: Start by cooking the beef in a large skillet over medium heat. A cast-iron skillet is best because it holds heat well. Use a spoon to break the beef apart as it cooks, ensuring even cooking. It’s done when it is browned and crispy on the outside. Be careful not to overcook it, as it will become dry and tough. Once it is fully browned, take it off the heat.
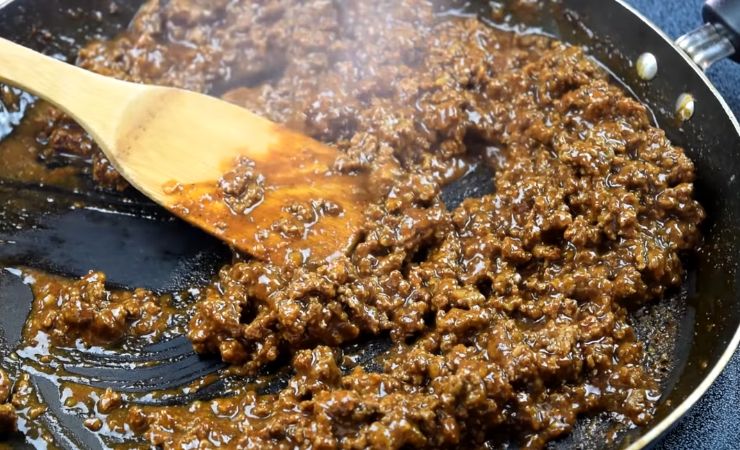
2. Add Spices and Beans: Next, mix chili powder, onion powder, and a pinch of salt into the beef. For extra flavor, you can add cumin. Then, add chili beans and salsa, mixing gently. Let it simmer until the sauce thickens slightly. Taste the mixture and adjust the salt as needed; be careful not to add too much.
3. Warm the Tortillas: While the beef mixture simmers, warm the tortillas in the microwave until they are soft. Wrap them in a damp paper towel to keep them moist. Heat them for about 20-30 seconds, then check if they are warm and soft. Avoid overheating, as this will make them brittle.
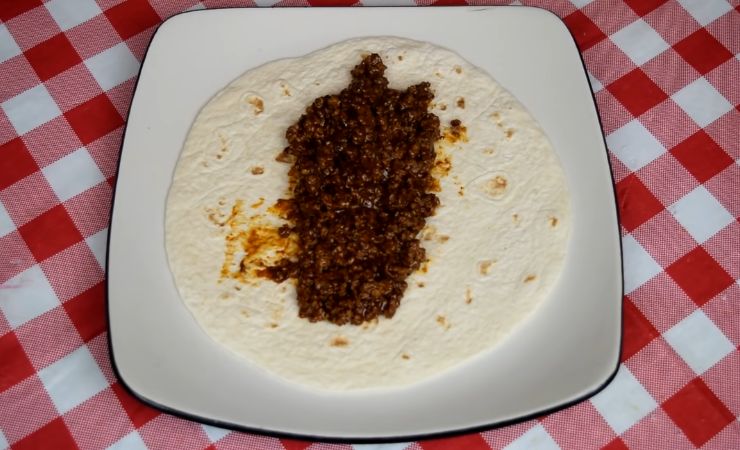
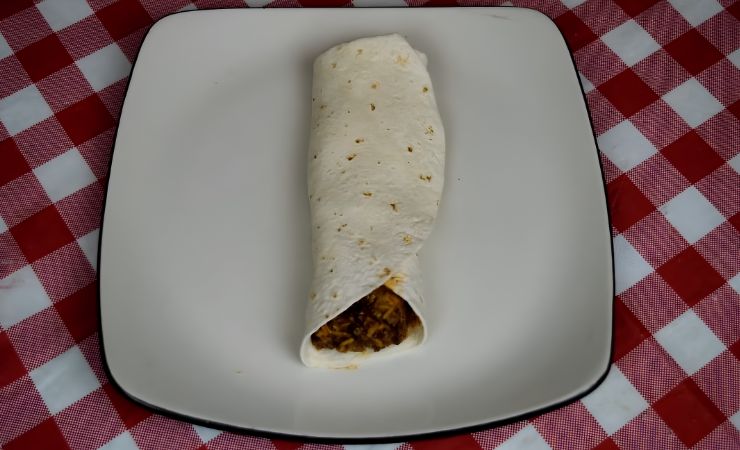
4. Assemble the Chilitos: When the tortillas are warm, fill each one with the beef mixture and add a generous amount of shredded cheese. A mix of cheddar and Monterey Jack cheese works well. Roll the tortillas tightly, ensuring the filling stays inside. Do not overfill; keep the filling to about ¾ full to make rolling easier.
5. Heat the Chilitos: Next, cook the chilitos in a large skillet over medium heat until the cheese melts and the tortillas become crispy. A cast-iron skillet works great for this, too. They are finished when the cheese melts, and the tortillas are golden brown and crispy. Heat for 2-3 minutes on each side, then remove from the heat.
6. Serve and Enjoy: Serve the chilitos hot with your choice of toppings, such as sour cream, salsa, or extra shredded cheese. I recommend pairing them with Mexican rice or roasted vegetables. Serve them immediately after heating to keep them warm.
Tips for Getting It Right Every Time
1. Avoid Overcooking the Beef: One common mistake is overcooking the beef, which makes it dry and tough. To prevent this, cook the beef until it’s browned, then take it off the heat. You can also use a meat thermometer to check that the beef reaches at least 160°F for medium-rare.
2. Use the Right Type of Cheese: The cheese you choose affects the dish’s flavor and texture. I recommend a mix of cheddar and Monterey Jack cheese, as this combination balances flavors well. You can also try other cheeses, like Pepper Jack or Colby, to see what you like best.
3. Don’t Overfill the Tortillas: Overfilling them makes them hard to roll and more likely to burst. Fill the tortillas to about ¾ full and roll them up tightly. You can use a little water to seal the edges, which helps keep them closed while cooking.
4. Add Some Fresh Cilantro: It adds great flavor to the dish and pairs well with the beef and cheese. You can chop fresh cilantro and add it to the chilitos before serving, or mix it into the beef for more flavor.
5. Experiment with Different Types of Salsa: The salsa you choose greatly affects the dish’s flavor. I suggest a mild red salsa for a good balance without too much spice. You can also try medium or hot salsa to find the heat level you prefer.
Easy Ways to Customize This Recipe
- Spicy Chilitos: If you like a little heat, add finely diced jalapeños or serrano peppers to your chilitos. These peppers will give the beef mixture a spicy kick, awakening your taste buds and leaving you wanting more.
- Veggie Chilitos: For a tasty vegetarian option, replace the beef with a mix of sautéed vegetables. Use colorful bell peppers, sweet onions, and mushrooms to create a rich filling. This option has great flavor and texture, showing that a hearty dish can be meat-free.
- Breakfast Chilitos: Start your day with a breakfast twist on traditional chilitos. Mix fluffy scrambled eggs and crispy crumbled bacon into the beef mixture for a delicious morning meal. This combo adds extra savory flavor and turns your chilitos into a comforting breakfast option.
- Seafood Chilitos: For a fresh twist, substitute the beef with sautéed shrimp or flaky fish. This seafood version offers a light yet tasty filling that brings ocean flavors to your dish. Add fresh herbs and spices for more flavor in each bite.
Best Side Dishes to Serve Alongside It
You can enjoy the Zantigo Cheese Chilito with a variety of tasty sides that bring out its flavors. Start with fluffy Mexican rice, which adds texture and a bit of spice. Roasted vegetables like bell peppers, zucchini, and red onions add a sweet, smoky taste and make your plate colorful.
A simple green salad with a light vinaigrette can provide a refreshing contrast to the rich cheese. For a sweet touch, add fresh fruit such as mango slices or apple wedges to balance the dish’s richness. A scoop of sour cream on the side can add a cool, tangy flavor that complements the cheese nicely.
Choose sides that not only enhance the flavors of the Zantigo Cheese Chilito but also reflect your personal tastes, creating a satisfying meal.
How to Store and Reheat Leftovers
You can keep the Zantigo Cheese Chilito in the fridge for up to 3 days. Wrap them tightly in plastic wrap or aluminum foil and store in a covered container. To reheat, microwave the chilitos for 20-30 seconds, or until they are hot.
You can also freeze the Zantigo Cheese Chilito. Wrap them tightly and place them in a freezer-safe bag. When you are ready to eat them, microwave for 30-60 seconds or until they are hot.
To reheat, you can use a microwave or a skillet. In a microwave, heat for 20-30 seconds until hot. In a skillet, heat for 2-3 minutes on each side, until golden brown and crispy.
You can make the Zantigo Cheese Chilito ahead of time. Assemble them and store in the fridge or freezer until you are ready to reheat. You can also prepare the beef mixture ahead of time and store it until you assemble the chilitos.
Frequently Asked Questions
1. Can I substitute beef for chicken?
Yes, you can use chicken instead of beef. Cook the chicken in a skillet over medium heat until fully cooked, then add chili powder, onion powder, and a pinch of salt. Continue with the recipe as directed.
2. How do I prevent the tortillas from tearing?
To avoid tearing, warm the tortillas before assembling the chilitos. You can also use a small amount of water to seal the edges, which helps keep them closed while cooking.
3. Can I use low-fat cheese instead of regular cheese?
Yes, you can substitute low-fat cheese for regular cheese. Keep in mind that it may not melt as well, so you might need to adjust the cooking time.
4. How do I fix a chilito that’s too dry?
If a chilito is dry, add a small amount of water or salsa to the beef mixture. You can also cover the chilito with a damp paper towel and microwave for 10-15 seconds to restore moisture.
Zantigo Cheese Chilito Recipe

Make this easy Zantigo Cheese Chilito with seasoned beef, melted cheddar, and mild salsa wrapped in a warm flour tortilla.
Ingredients
- Lean ground beef: 1 pound
- Chili beans: 1 can (15 ounces)
- Mild red salsa: 1 cup
- Shredded cheddar cheese: 2 cups
- Soft flour tortillas: 8
- Salt: to taste
Instructions
- Brown the Beef: Start by cooking the beef in a large skillet over medium heat. A cast-iron skillet is best because it holds heat well. Use a spoon to break the beef apart as it cooks, ensuring even cooking. It's done when it is browned and crispy on the outside. Be careful not to overcook it, as it will become dry and tough. Once it is fully browned, take it off the heat.
- Add Spices and Beans: Next, mix chili powder, onion powder, and a pinch of salt into the beef. For extra flavor, you can add cumin. Then, add chili beans and salsa, mixing gently. Let it simmer until the sauce thickens slightly. Taste the mixture and adjust the salt as needed; be careful not to add too much.
- Warm the Tortillas: While the beef mixture simmers, warm the tortillas in the microwave until they are soft. Wrap them in a damp paper towel to keep them moist. Heat them for about 20-30 seconds, then check if they are warm and soft. Avoid overheating, as this will make them brittle.
- Assemble the Chilitos: When the tortillas are warm, fill each one with the beef mixture and add a generous amount of shredded cheese. A mix of cheddar and Monterey Jack cheese works well. Roll the tortillas tightly, ensuring the filling stays inside. Do not overfill; keep the filling to about ¾ full to make rolling easier.
- Heat the Chilitos: Next, cook the chilitos in a large skillet over medium heat until the cheese melts and the tortillas become crispy. A cast-iron skillet works great for this, too. They are finished when the cheese melts, and the tortillas are golden brown and crispy. Heat for 2-3 minutes on each side, then remove from the heat.
- Serve and Enjoy: Serve the chilitos hot with your choice of toppings, such as sour cream, salsa, or extra shredded cheese. I recommend pairing them with Mexican rice or roasted vegetables. Serve them immediately after heating to keep them warm.
Nutrition Information:
Serving Size:
1Amount Per Serving: Calories: 350
The Zantigo Cheese Chilito is a delicious dish to make, and with your cooking skills, you will enjoy it. The dish comes from Mexican cuisine and has a rich history. Its mix of beef, cheese, and salsa is a classic enjoyed by many, and making this dish helps keep a great cooking tradition alive.